
Small Kitchens · Blender Tips · CozyPrac Guide
5 Blender Mistakes
You’re Probably Making
Chunky smoothies, a blender that struggles more than it used to, a jar that smells a little off — most of these come down to a handful of habits that are easy to fix once you know what’s going wrong.
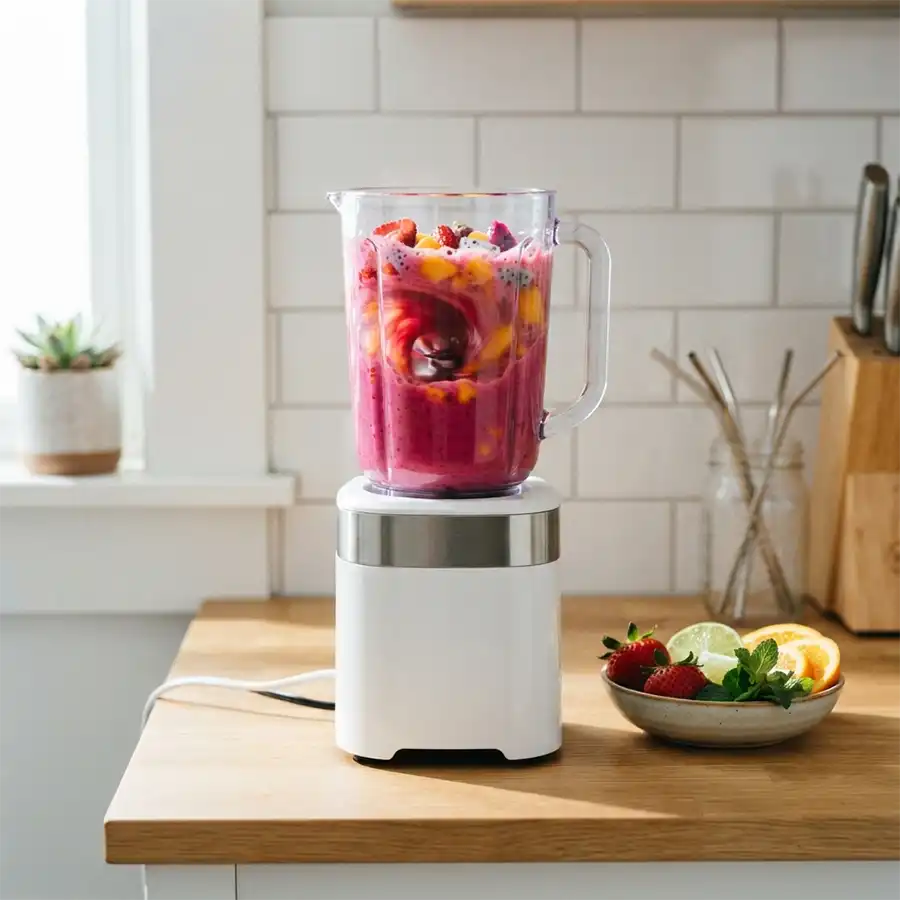
These common blender mistakes are easier to fix than you’d think. Blending a smoothie feels like the most foolproof thing you can do in a kitchen. Toss stuff in, press a button, done. So why does it sometimes come out chunky, or the motor sound like it’s working way too hard?
Most blender problems aren’t really about the blender — they’re about a handful of small habits that quietly work against it. Once you know which blender mistakes to watch for, every one of them is an easy fix. 🥤
Common Blender Mistakes to Avoid
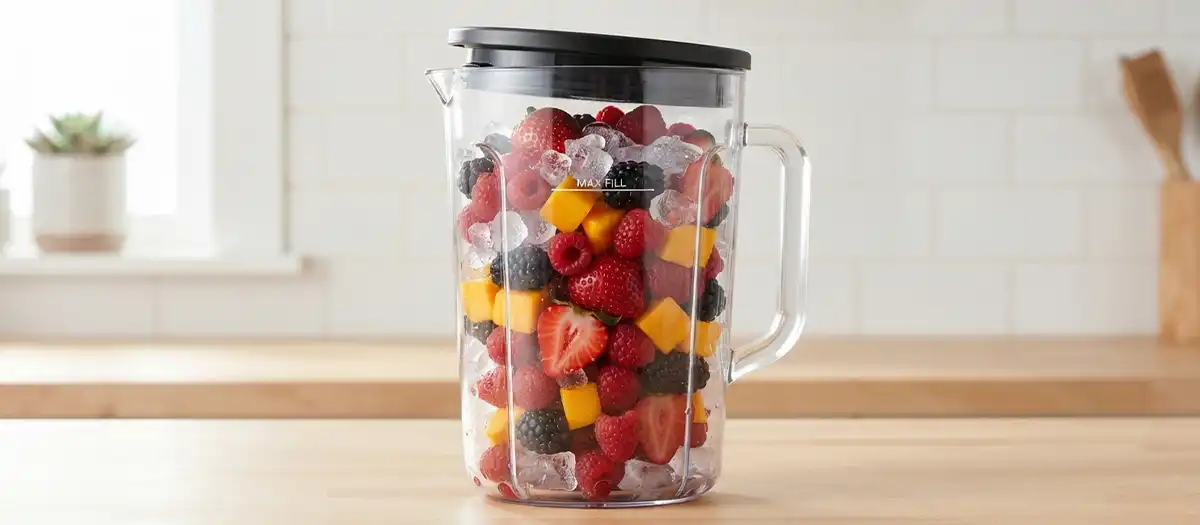
Overloading the Jar Past the Max Fill Line
Packing the jar as full as possible feels efficient, but ingredients need room to actually circulate past the blade. Overfilled jars are the most common reason a blend comes out chunky in some spots and liquefied in others — the blade simply can’t reach everything evenly.
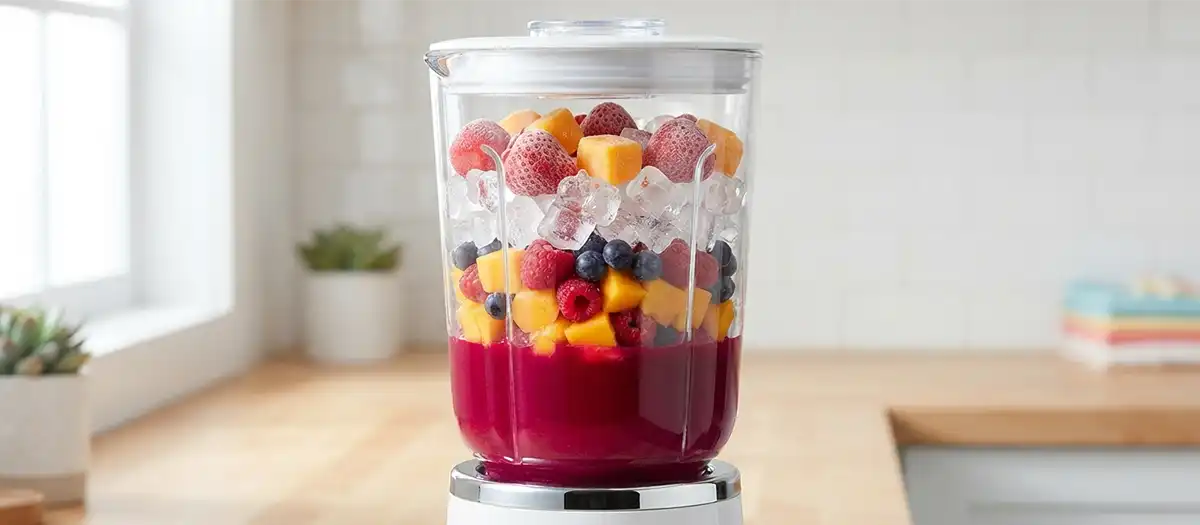
Layering Ingredients in the Wrong Order
Tossing everything in randomly makes the blade’s job much harder. If frozen fruit or ice sits directly on the blade with no liquid to help it move, you’ll often get a stuck, grinding blend instead of a smooth one — even in a powerful machine.
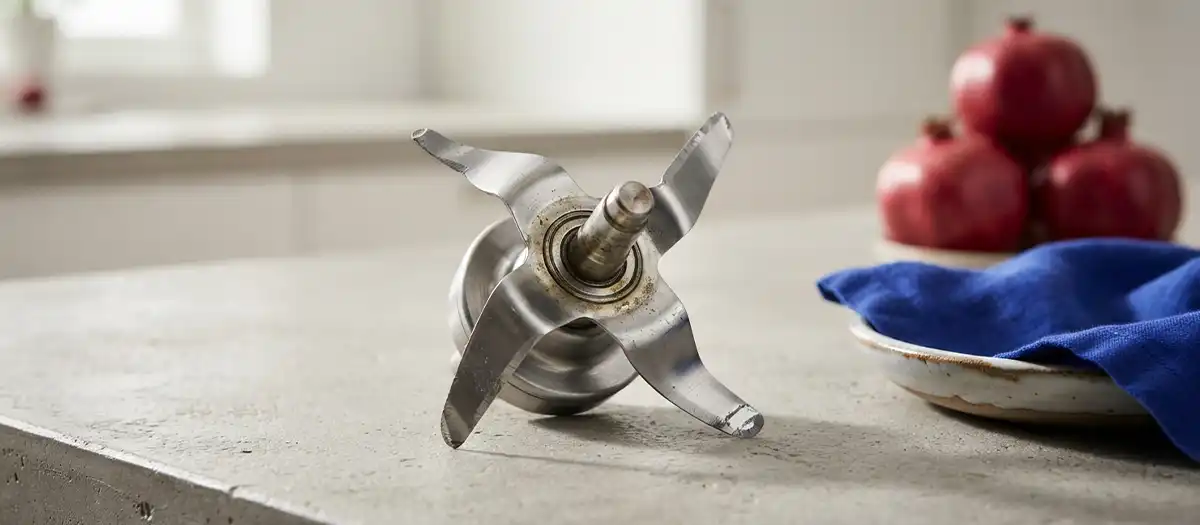
Ignoring a Dull or Worn Blade
Blades don’t fail all at once — they quietly get worse over months, and most people blame the recipe or the machine long before they think to check the blade itself. A duller blade means longer blend times, more chunks left behind, and more strain on the motor to compensate.
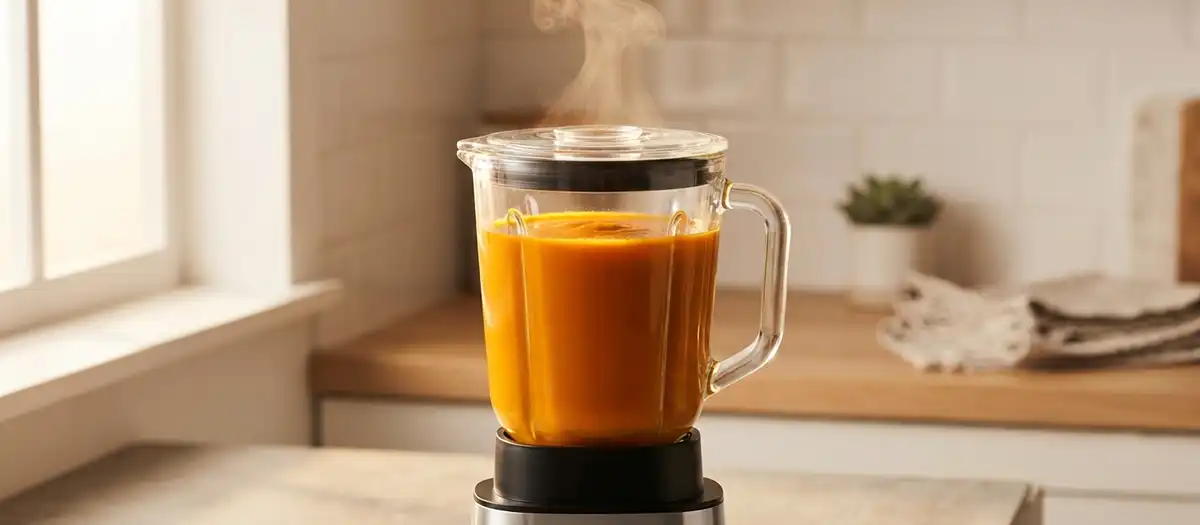
Blending Hot Liquids in a Sealed Jar
Blending hot soup straight off the stove with the lid fully sealed is a genuine safety risk, not just a minor mistake. Steam builds up pressure fast in an enclosed jar, and it can force the lid off mid-blend, sending hot liquid everywhere. The U.S. Consumer Product Safety Commission generally advises letting hot contents cool and venting enclosed containers before blending or processing.
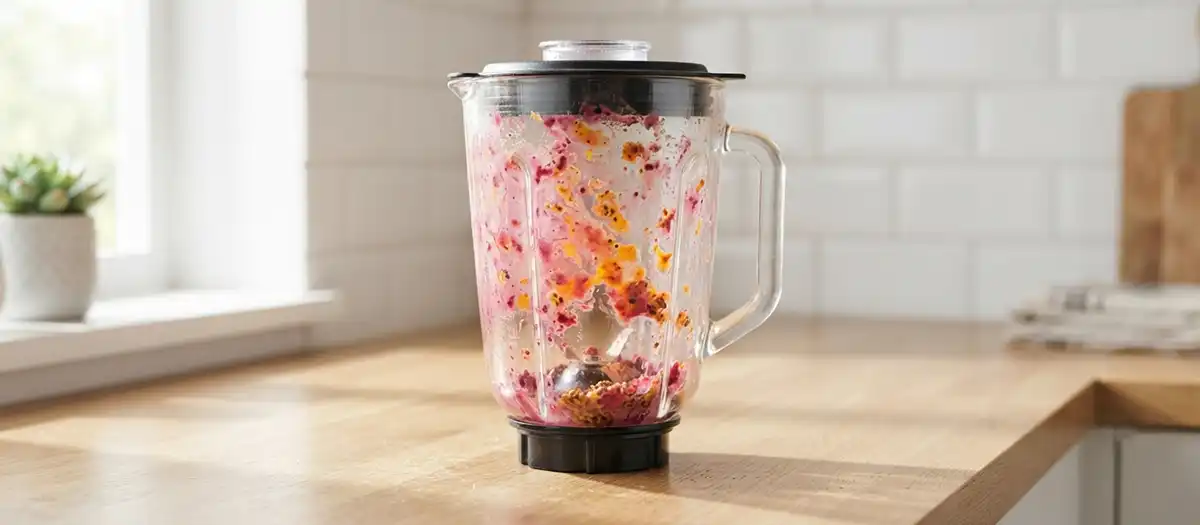
Skipping the Rinse Right After Blending
Letting a jar sit with leftover smoothie or sauce residue lets it dry onto the blade and the base seal, which makes actual cleaning much harder later and can start to smell over time. It also puts extra wear on the gasket that keeps the jar from leaking.
None of these fixes take more than a few minutes, but together they make a real difference — smoother blends, a motor that lasts longer, and one less thing to think about before your next smoothie. 🥤🏡
💡 Looking for other small, affordable kitchen finds?
We keep a running list of budget-friendly picks we actually recommend.
See Budget Finds →
Ready for an Upgrade?
If your current blender is more trouble than it’s worth, we compared three of the best compact blenders for small kitchens — power, noise level, and budget picks included.
→ See the Blender Comparison